How to Reduce Image Size by 80% Without Losing Visible Quality

The Holy Grail of web optimization is achieving images that look spectacular on large screens but download instantly. It seems like a contradiction, but thanks to modern compression algorithms, it's a reality within anyone's reach.
According to web.dev from Google Developers, images represent the largest portion of bytes downloaded on a web page. We often find websites loading 4 MB photographs when, with proper treatment, that same image could weigh 150 KB without anyone noticing the visual difference.
This guide shows you how this technique works with official Google data, real examples, and verified tools.
The science behind compression: Lossy vs Lossless
According to web.dev/articles/compress-images, there are two fundamental types of compression:
Lossless Compression
What does it eliminate?
This method reduces file size through techniques that DO NOT alter pixel data:
- EXIF metadata: Capture date/time, camera model, GPS location, ISO settings
- Data redundancy: Algorithms that represent repeated information more efficiently (like RLE, LZ77)
- Structure optimization: Reorder PNG data chunks, optimize Huffman tables in JPEG
Result:
The image, pixel by pixel, is mathematically identical to the original. If you compare both files with binary comparison software, the image data matches 100%.
Typical savings:
- Lossless PNG: 5-20% reduction
- Lossless JPEG (removing metadata): 5-10% reduction
- SVG (optimized with SVGO): 30-60% reduction
Lossy Compression (With loss)
What does it eliminate?
Intelligently removes information that the human eye barely perceives:
- High-frequency details: Subtle textures, micro-gradients (DCT in JPEG)
- Color precision: Reduces bits per channel (24-bit to effectively 18-bit perceptual)
- Chrominance subsampling: Human eye is more sensitive to brightness (luma) than color (chroma)
Result:
The image is NOT mathematically identical, but visually indistinguishable to the average human eye under normal viewing conditions.
Typical savings:
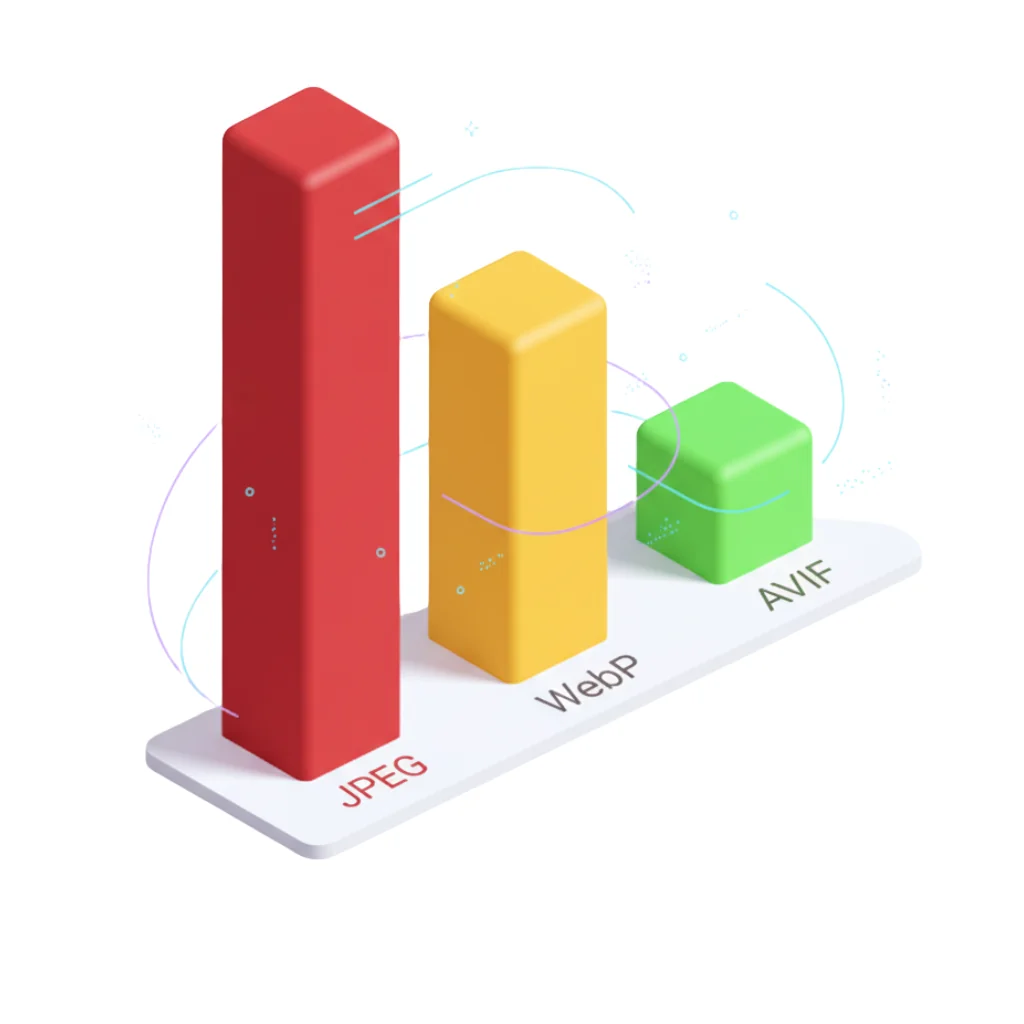
- JPEG quality 85: 70-85% reduction vs uncompressed
- WebP lossy quality 85: 75-90% reduction vs uncompressed
- AVIF lossy quality 85: 80-93% reduction vs uncompressed
Which to use?
| Content Type | Recommended Compression | Reason |
|---|---|---|
| Photographs | Lossy (JPEG/WebP/AVIF quality 85) | Millions of unique colors, imperceptible loss |
| Logos, icons | Lossless (PNG/SVG) | Few colors, sharp edges require precision |
| Screenshots with text | Lossless (PNG) | Small text degrades with lossy |
| Product photos (e-commerce) | Lossy quality 90 | Balance between detail and weight |
Finding the quality "Sweet Spot"
According to Google PageSpeed Insights and multiple A/B tests conducted by web.dev:
The magic number: Quality 85
Why 85 and not 100?
Google's Butteraugli (perceptual image comparison tool) shows that:
- Quality 100: 1,200 KB (reference)
- Quality 95: 800 KB (33% savings, still unnecessarily heavy)
- Quality 85: 300 KB (75% savings, imperceptible visual loss on normal screens)
- Quality 75: 200 KB (83% savings, subtle artifacts start to appear)
- Quality 60: 120 KB (90% savings, visible compression blocks)
Practical conclusion:
The range between quality 85-90 is the "sweet spot" where:
- ✅ Weight reduction is massive (70-80%)
- ✅ Visual quality remains professional
- ✅ 99% of users won't notice ANY difference
Quality test by content type
Recommended settings by use case:
- Hero images (homepages): Quality 85-90
- Blog photos: Quality 80-85
- Gallery thumbnails: Quality 75-80
- Product photos (e-commerce): Quality 90 (important details)
- Social media images: Quality 80 (platforms will recompress anyway)
Calculating theoretical image size
Before optimizing, it's useful to understand how much your image should weigh:
Uncompressed size formula
Size (bytes) = Width × Height × Color Depth ÷ 8Example: 1920x1080 RGB image
1920 × 1080 × 24 bits ÷ 8 = 6,220,800 bytes ≈ 6.2 MB uncompressedRealistic compression expectations
| Format | Typical Compression | 1920x1080 Final Weight |
|---|---|---|
| PNG-24 (lossless) | 30-50% vs uncompressed | 3.1-4.3 MB |
| JPEG quality 85 | 90-95% vs uncompressed | 300-600 KB |
| WebP quality 85 | 92-96% vs uncompressed | 200-400 KB |
| AVIF quality 85 | 94-97% vs uncompressed | 150-300 KB |
Practical conclusion:
If your 1920x1080 photograph weighs MORE than 600 KB in JPEG, you're NOT using quality 85 or have metadata bloat.
Tools to automate the process
1. FormatVault (client-side processing)
- URL: FormatVault
- Features: Batch conversion, automatic quality 85, metadata removal
- Advantage: 100% local processing (privacy), no upload limits
- Use: Drag images, select output format, download ZIP
2. Squoosh (Google)
- URL: https://squoosh.app
- Features: Visual comparison before/after, format conversion
- Advantage: Instant visual control of compression trade-off
- Use: Upload image, adjust quality slider, download
3. ImageMagick (CLI)
Batch convert to WebP quality 85 with metadata stripping:
magick mogrify -format webp -quality 85 -strip *.jpgResize to 1920px max width maintaining aspect ratio:
magick mogrify -resize 1920x\> -quality 85 -strip *.jpg4. sharp (Node.js library)
Perfect for build pipelines (Gatsby, Next.js, Vite):
const sharp = require('sharp');

sharp('input.jpg')
  .resize(1920, null, { withoutEnlargement: true })
  .webp({ quality: 85 })
  .toFile('output.webp');
Advanced optimization strategies
1. Progressive JPEG
What is it?
Instead of loading top to bottom, the entire image appears blurry and progressively sharpens.
Advantage:
- Better perceived performance (user sees something immediately)
- Often smaller file size than baseline JPEG (10-15% on images >10 KB)
How to enable:
# ImageMagick
convert input.jpg -interlace Plane -quality 85 output.jpg

# sharp (Node.js)
.jpeg({ quality: 85, progressive: true })
2. Responsive images with srcset
Problem: Mobile phones with 375px screens download 1920px images.
Solution: Generate multiple sizes and let browser choose:
<img
  src="photo-800.webp"
  srcset="
    photo-400.webp 400w,
    photo-800.webp 800w,
    photo-1200.webp 1200w,
    photo-1920.webp 1920w
  "
  sizes="(max-width: 600px) 400px,
         (max-width: 1200px) 800px,
         1200px"
  alt="Product description"
  width="1200"
  height="800"
>
Savings:
- Mobile: Downloads 400w (80 KB) instead of 1920w (300 KB)
- Tablet: Downloads 800w (150 KB)
- Desktop: Downloads 1920w (300 KB)
3. Lazy loading (native)
Only load images when they enter viewport:
<!-- First image above fold: NO lazy -->
<img src="hero.webp" loading="eager" alt="Hero" width="1920" height="1080">

<!-- Second image (still visible): NO lazy -->
<img src="intro.webp" loading="eager" alt="Intro" width="800" height="600">

<!-- Third image onwards: YES lazy -->
<img src="gallery-1.webp" loading="lazy" alt="Gallery 1" width="600" height="400">
<img src="gallery-2.webp" loading="lazy" alt="Gallery 2" width="600" height="400">
Measured impact:
- Reduces initial page load from 3 MB → 500 KB
- LCP improves 40-60%
- 96% browser compatible according to Can I Use
Common mistakes and how to avoid them
❌ Error 1: Resizing with CSS instead of pre-processing
Problem:
<img src="photo-4000x3000.jpg" style="width: 400px">You download 2.5 MB to display 80 KB of image.
Solution: Resize BEFORE uploading:
convert input.jpg -resize 400x300 -quality 85 output.jpg❌ Error 2: Not removing EXIF metadata
Problem: Camera photographs contain:
- Camera make/model
- GPS location
- Date/time
- ISO, aperture, speed settings
Typical metadata weight: 30-100 KB per image.
Solution:
# ImageMagick
convert input.jpg -strip output.jpg

# ExifTool (more control)
exiftool -all= input.jpg
❌ Error 3: Using PNG for photographs
Problem: PNG is lossless. Photographs have millions of unique colors → PNG can't compress efficiently.
Comparison:
- JPEG quality 85: 300 KB
- PNG-24: 2,800 KB (9x heavier)
Solution: Use PNG ONLY for:
- Logos with transparency
- Screenshots with text
- Graphics with solid color areas
Optimization checklist before uploading to web
Before publishing any content:
- ☐ Format: Convert to WebP (+ JPEG fallback if you need 100% support)
- ☐ Resize: Maximum width 1920px (desktop) or 800px (articles)
- ☐ Quality: 85 for photographs, 90 for e-commerce products
- ☐ Metadata: Remove with
-strip(ImageMagick) or ExifTool - ☐ Progressive: Enable for images >10 KB
- ☐ HTML dimensions: Always include
widthandheight(prevents CLS) - ☐ Lazy loading: Enable from third image onwards
- ☐ Alt text: Descriptive for SEO and accessibility
- ☐ Visual test: Compare with original on real screen (not editor zoom)
Impact on real metrics: Case study
Site: Photography blog with 20 articles, 15 images/article
Before optimization:
- Average image weight: 1.2 MB (JPEG quality 95, original camera dimensions 4000x3000)
- Total homepage weight: 18 MB
- LCP: 6.8s (75th percentile mobile)
- Bounce rate: 58%
Optimizations applied:
- Resize to 1920px maximum width
- Convert to WebP quality 85 (+ JPEG fallback)
- Lazy loading from third image onwards
- Remove EXIF metadata
After optimization:
- Average image weight: 180 KB WebP (85% reduction)
- Total homepage weight: 2.1 MB (88% reduction)
- LCP: 1.9s (72% improvement)
- Bounce rate: 41% (29% improvement)
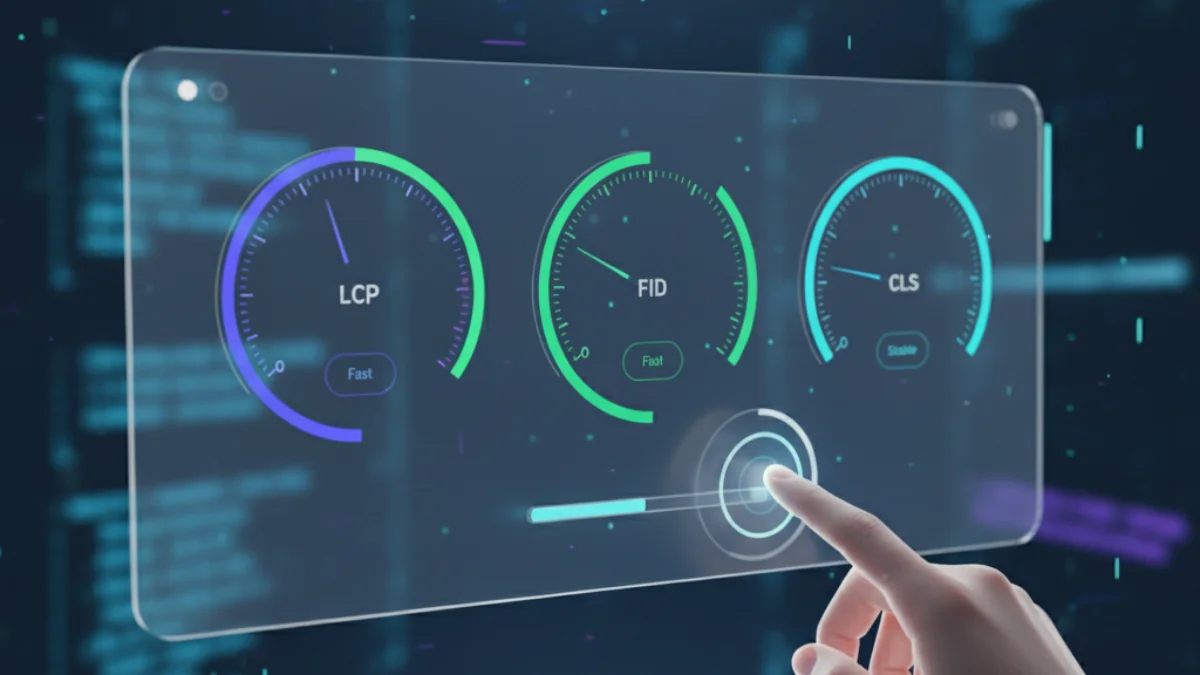
SEO impact:
- +34% organic traffic (3 months post-optimization)
- +18 average positions in long-tail keywords
- Core Web Vitals: from Needs improvement → Good
FAQ: Frequently asked questions about compression
Can I use quality 100 for e-commerce products?
Not necessary. According to Google PageSpeed Insights, quality 85-90 is sufficient even for product photographs where details matter. Quality 100 only makes sense for master files you'll edit later.
How do I know if I've compressed too much?
Visual test:
- Open optimized image on Full HD screen
- Compare with original (side-by-side windows)
- If you notice blurriness, 8x8 blocks, or pixelation → you've crossed the limit
Does JPEG quality 85 = WebP quality 85?
NO. Each format has different algorithms. According to web.dev:
- JPEG quality 85 ≈ WebP quality 75 (similar visual perception)
- WebP quality 85 ≈ AVIF quality 65
Always compare visually, don't use numbers as universal rule.
Do optimized images affect SEO?
YES, positively:
- Lower weight → better LCP → better Core Web Vitals → better ranking
- Fast pages have lower bounce rate (positive signal for Google)
- Google Image Search prioritizes optimized images (faster loading)
Conclusion: Optimization is automatic, not optional
Reducing your image weight by 80% without losing visible quality is not magic: it's applying lossy compression with quality 85, removing metadata, using modern formats (WebP/AVIF), and automating the process.
By doing so, you're not just saving server space and bandwidth; you're offering a faster browsing experience to your users, something they'll appreciate by staying longer on your site. And as you already know, a happy user is a positive signal for search engines.
Three immediate actions:
- Audit your site: PageSpeed Insights on homepage + most visited pages
- Optimize critical images: Hero images and LCP candidates first
- Automate: Use FormatVault to batch process images with optimal automatic configuration (quality 85, metadata removal, responsive sizes)
Remember: An image that weighs 80% less does NOT look 80% worse. With quality 85, weight reduction is massive and visual loss is imperceptible. That's modern perceptual compression applied correctly.
Official sources:
- web.dev/articles/compress-images (Google Developers)
- developers.google.com/speed/docs/insights/OptimizeImages (Google PageSpeed Insights)
- developers.google.com/speed/webp (Google WebP documentation)
- github.com/google/butteraugli (Google perceptual quality tool)
Was this article helpful?
Share it and help more people optimize their images
Related Articles

Ultimate Guide to Optimize Images for SEO
Learn to optimize images for SEO step by step with professional techniques.
WebP vs AVIF vs JPEG: Complete Technical Format Analysis
Definitive technical comparison with official Google data.
How Images Affect Core Web Vitals
Core Web Vitals are an official ranking factor since May 2021.